Visual Effects: Lesson 03 A: Near Camera Fading
If you have played any first person or third person action game there is a pretty good chance that at one moment or another, an explosion effect or drifting smoke effect happened to play in close proximity to your player camera.
In this lesson we will show you how to nicely fade out sprites as they get near to the camera to avoid the unsightly pop which might happen when a single camera facing sprite clips the near plane of the gameplay camera.
This is one trick we employ at Epic on nearly every effect we know will be in the gameplay space, and has any possibility of interacting with the player camera. The visual POP when a sprite clips the camera is not only very distracting; it also destroys the illusion of volume every sprite driven effect is hoping to convey.
If you have completed lesson 02, you should now have 2 materials in your Content Browser. It is my hope that we continue to build on the material for the first lesson, so you can easily see how to best layer on material effects within a network, and begin to see how to break a material down into the core components which make-up the logic which drives the visual.
Let’s start by duplicating our DepthFade material, and name it M_Trans_Unlit_DepthCameraFade.
Now that we know how to drag off of inputs/outputs, I am going to go a bit faster, often times saying to string up your inputs/outputs. I will do my best to always include a thumbnail so you can ensure the connections are correct.
Open your new Material and let’s add a Spheremask to the graph.
For a detailed description of what the Spheremask expression does, check this page of the UE4 materials compendium.
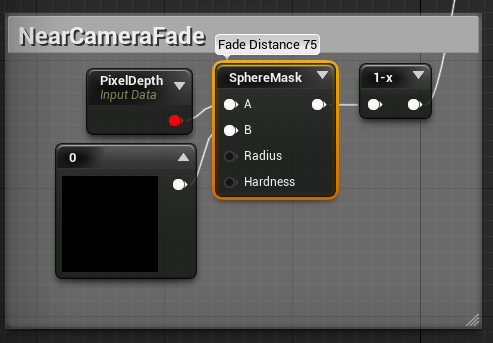
For the A, input connect a PixelDepth expression; for the B hook up a constant, you can do this by pressing + holding the 1 key, and clicking in the graph. Set your constant to a value of 0.00 and connect it to the B input.
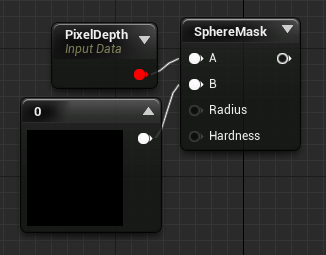
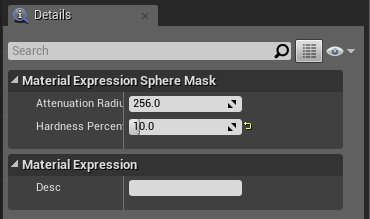
Next select the Sphere Mask node and leave the Radius at the default value, and set the Hardness to 10.
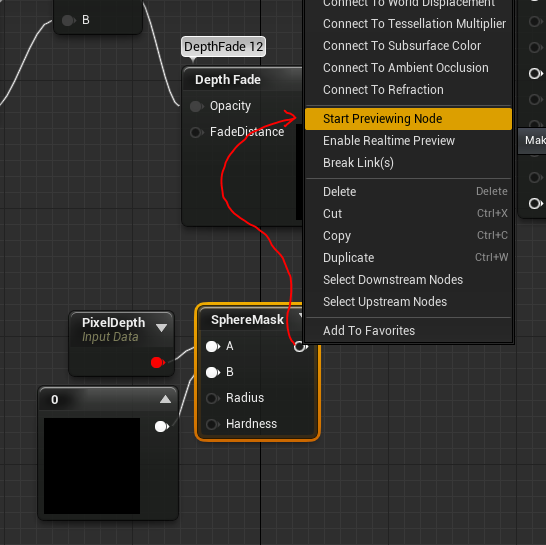
We are now going to use a handy feature of the material editor to see exactly what our expression setup is doing. Right Click on the output of the SphereMask expression and choose Start Previewing Node from the drop down list.
You will now see the Material Preview window is only displaying the result of this small snippet of your Material network on the preview surface. If you have not already done so, click the plane icon so that you see the preview on a flat plane. If the plane is not visible, try rotating the view around. This is a one-sided material, so you may be looking at the backface of the preview plane.
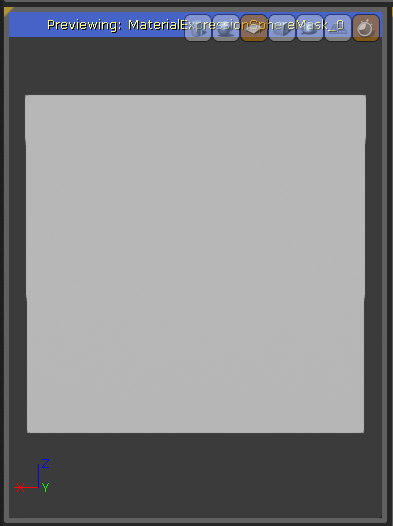
To see the result we are looking for, move your camera back and forth along the Y Axis (closer and further from the plane). You can see that the color shifts from white to black as the view gets further away.
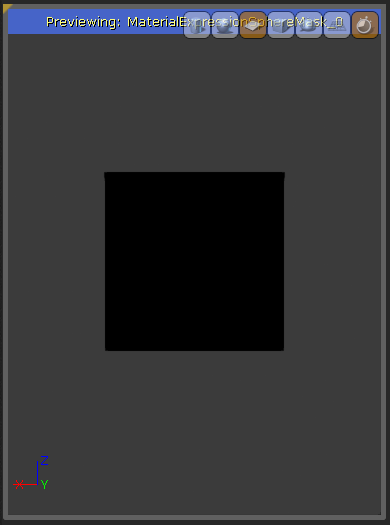
This is the result we are going to use to drive our near camera fade.
Next let’s try playing with the distance. Perhaps we want this transition to be very slow and soft. Select the SphereMask node again and change the radius to 500. Now move your view back and forth, and note that it takes twice as much distance to make the color shift from white to black. This radius is essentially defining a sphere around the sprite, in which the material will begin to fade in and out. Since this is done per sprite, it will work perfectly for our needs, as we don’t want the entire effect to fade out, just the pixels associated with the sprites nearest to our camera.
We have one problem left to solve. In order to fade the particles as they reach the camera, we need the color to change from white at a distance, to black when the camera gets near. This is a straight forward problem to fix, with an expression you will get a bunch of use out of in the future.
Right Click your SphereMask expression and choose Stop Previewing Node.
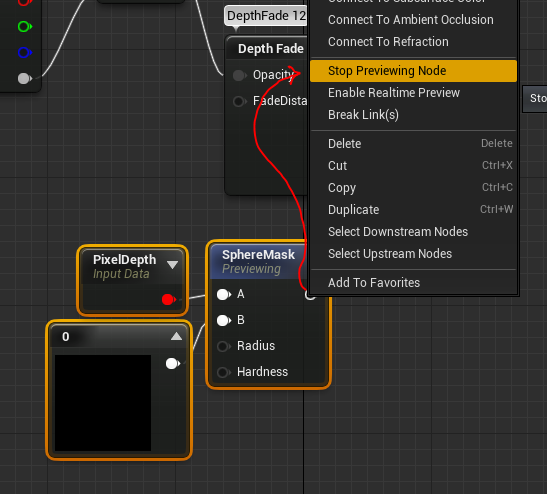
Drag off of the Sphere Mask output, and start typing “oneminus.”
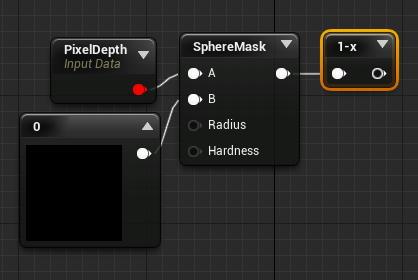
Note that the One Minus expression has a hyphenated name, in order to save precious screen real estate. 1-x is searchable by oneminus in the search panes.
The One Minus expression basically inverts the output of your node. So your blacks turn white, and your whites turn black. This will give us the near fade result we desire, when we multiply our Opacity output by this bit of logic.
Click and drag in the graph and highlight all of your near fade logic, rclick and start typing “comment” in the graph. Choose Create Comment from Selection in the list.
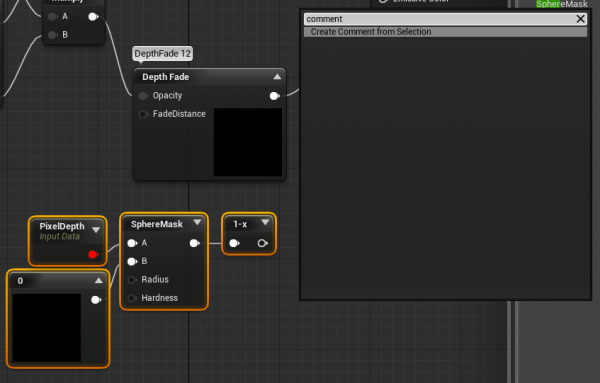
This will create a box around your logic, and position a cursor waiting for you to input a description. Type “NearCameraFade” in the field.
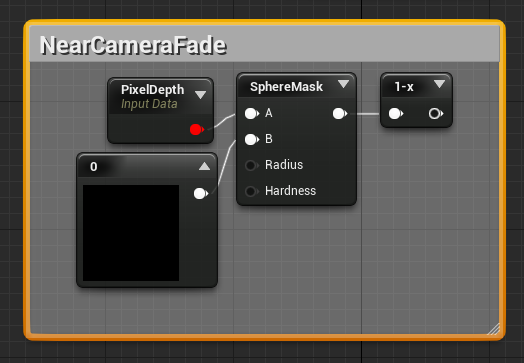
This comment box makes it easy for you to come back at a later date and quickly see how you might have accomplished something. Often times weeks or months might go by before you need to touch your materials again. Well-documented materials make it easier to dissect your logic.
Next we will drag off of the one minus and connect it to a multiply node. Connect the output of your particleAlpha, multiply to the input of your NearCameraFade multiply, and string that into the input of your DepthFade expression.
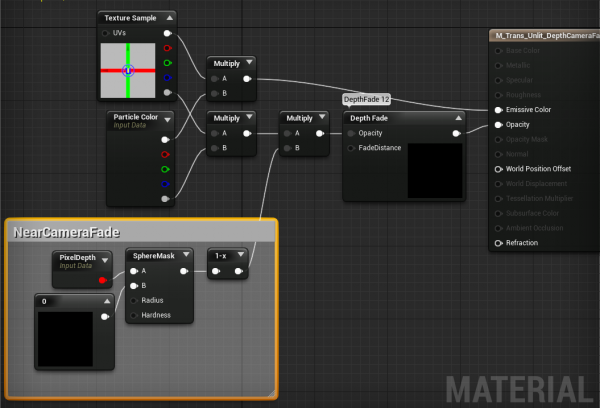
Now if you move back and forth in the viewport, you will see your preview plane effectively fades in and out as you get closer to it. Next we will find a value that works best for our distance fading.
In the content browser, find your previous depth fade effect and copy it off. Give it an appropriate name. I named mine P_CameraFade. You can name your effect anything that is easiest for you to remember, and properly organize your work.
Open the effect from the content browser by double clicking the asset.
Click on the Required Module and set the material reference to your new CameraFade Material. Go to the Spawn Module and set the spawn rate to 10. Next let’s add a spherical emission by rClicking in the grey area beneath the module stack and choosing location > sphere. This will cause our particles to spawn in a sphere 50 units in radius.
Now, if you have followed along with me step by step, your particles will not fade out as you get closer to them in Cascade. I have made an error in my process, and I have done it on purpose to hopefully show you a possible work-flow hang-up that might catch you off guard.
The particles are not fading in and out as you move closer because we never compiled our material. Previewing your material outputs is a very handy tool, but sometimes it tricks me up and gets me comfortable with my result, and I forget to hit the compile button. If you ever get a result you are not expecting after working with a Material, make sure you go back to the Material editor and verify you compiled it, prior to changing up your logic.
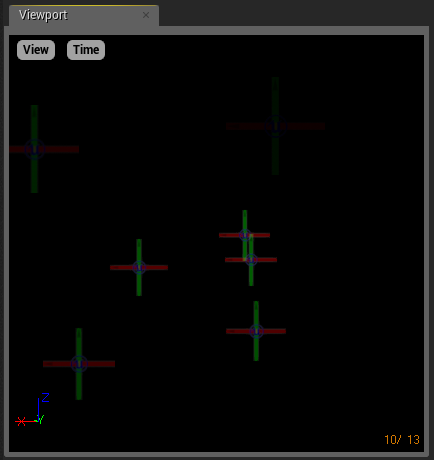
Compile the material now, and return to Cascade. You will now see the particles fade out as you move closer to them, and it is done on a per pixel basis, so particles farther from the camera remain opaque.
Find your effect in the content browser, by clicking the magnifying glass in Cascade.
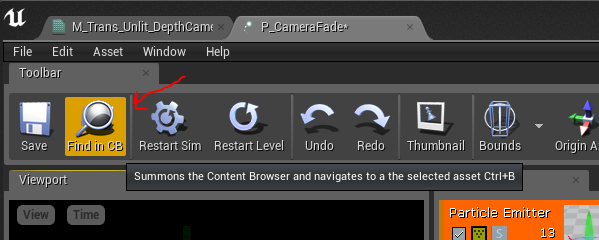
Drag the effect from the Content Browser into your scene. If you don’t have a scene open, create a default scene from the File menu.
Return to your Material and try tweaking the near fade distance in your material by changing the Radius to 75. Compile the Material and move your camera in the Perspective viewport back and forth until you get a distance you are happy with, relative to the size of your sprites.
I thought the value of 75 looked pretty good, and commented my SphereMask so I could quickly tell what distance I used for this Material.
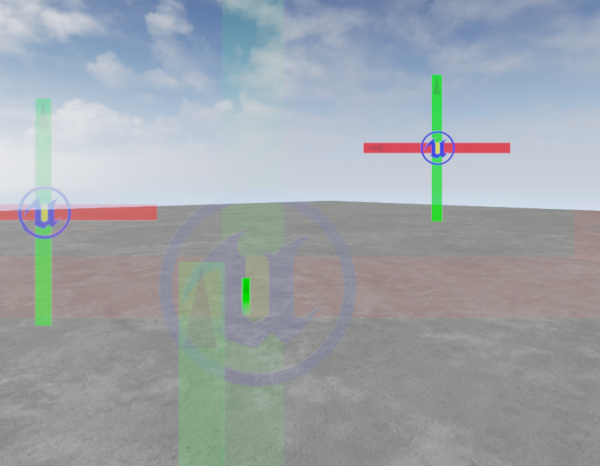
Now my particles will no longer clip the near plane of the camera, and that nasty POP! of the camera moving through a volume of sprites is solved!
The Near Fade logic is material logic which we use quite frequently. As a result, many of our projects have created a MaterialFunction to handle this. A Material function is a very handy feature of the UE4 material editor which I will go over in the next lesson.