Visual Effects: Lesson 02: Using Depth Fade
Creating Materials for use in Particle Effects in Unreal Engine 4.0 – Beginner Level -
Setting up your Material to use Depth Fade:
This quick lesson covers some very basic concepts of material setup for use with particle systems in Unreal Engine 4, and is intended for new users, or those wishing to get an update on new methods used in UE4.
If you have followed along with Lesson 01, you should now have an Unlit Material which is properly setup to use Particle Color for modifying color and alpha over the lifespan of a sprite. If you do not have this material, go ahead and create one. If you are unfamiliar with the process head back to lesson 01 and setup your material.
One thing you may have noticed if you placed your effect into the world is the harsh intersection you see when the particles intersect with geometry.
Perhaps you are wondering how to get rid of that hard edge? This is one of the basics of creating believable effects, and what we will cover in this quick lesson.
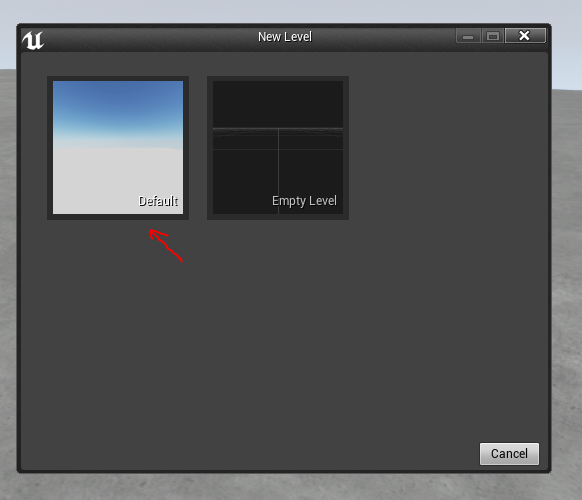
If you do not currently have a level open, let’s begin by creating a new level. Choose File>New Level> choose Default from the New Level options window.
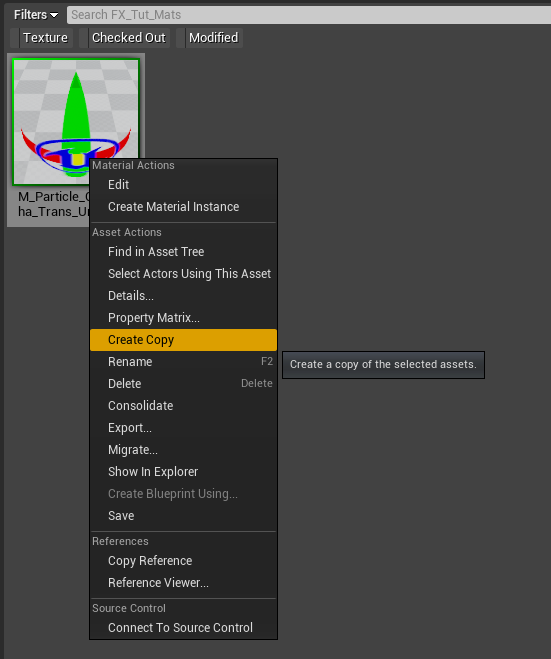
For our first step in the Material process, we’ll start by copying our particle color material and renaming it. Rclick your existing Material, choose Create Copy, and give it the name M_Trans_Unlit_DepthFade.
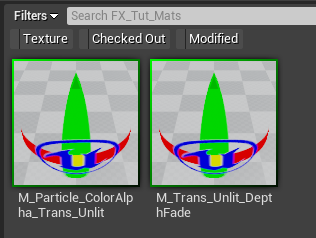
You should now have 2 materials in your content browser.
If you have any trouble, or make a spelling error while renaming, don’t worry just click the name twice like you would do in Explorer to rename or fix the name of your asset. You can also Rclick the asset and choose rename from the dropdown menu, or press the F2 hotkey.
Double click your new material to open the Material Editor.
The first step will be for us to add the Depth Fade node. Because we want the fade to happen in conjunction with our alpha fading controls in Cascade, we will multiply our depth fade after the particle alpha calculations are done. When creating materials, it is important to consider the order of operations, that is, which parts of the material you want to execute first.
Let’s drag off of our multiply node which is connected to our Materials Opacity input and start typing depthfade. Click on DepthFade in the drop down list, and your Depth Fade expression will connect to the output of your multiply expression.
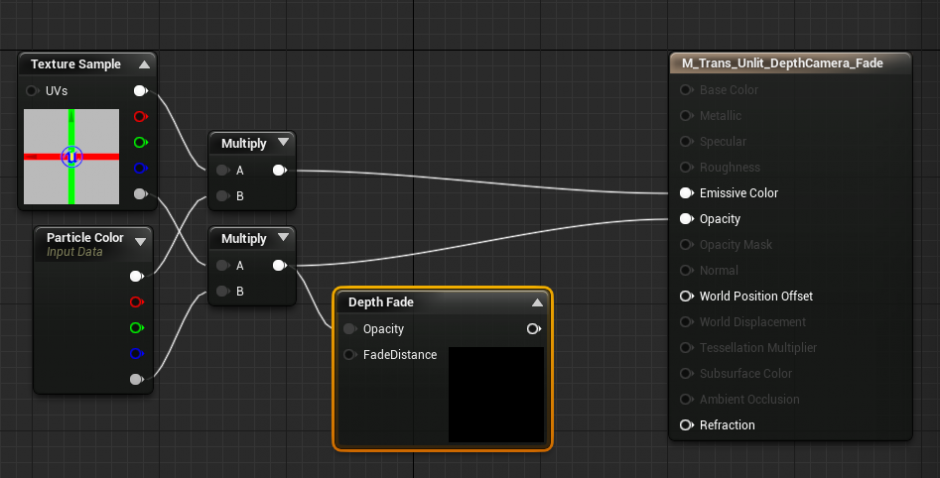
Notice that the Depth Fade Expression has two inputs, Opacity and Fade Distance. If you are ever uncertain which input to connect your material chain to, just drag off of your expressions output, do a search, and let the editor connect it for you.
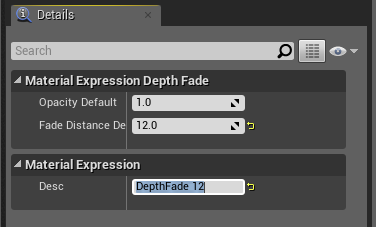
You should have the Depth Fade Expression selected, if you do not go ahead and select it now. Notice that after selecting the expression the Details panel lists the values of your inputs.
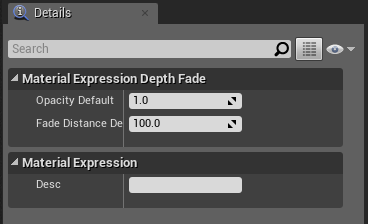
The Opacity Default is set to 1.0, which is currently being overridden by the output of your alpha stream which is connected to the Opacity input of your Depth Fade expression. The default value for your FadeDistance is set to 100.00
Note that unlike UE3, UE4 allows you to directly define default values in the expression, freeing up space on your graph and simplifying the visuals. This can make it easier to see the logic flow. One trick you can use, if you wish to see the value of your FadeDistance, is to place a comment in the Desc field of the expression. Try typing DepthFade 100 in the Desc field.
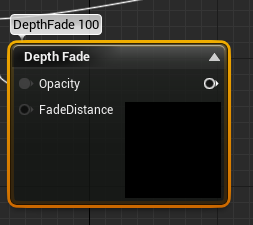
This allows you to see a value at a glance; if you wish to share values you feel are good defaults with other team members, this is also a good way to share that value, or store a value you think you may like, but wish to keep experimenting with values.
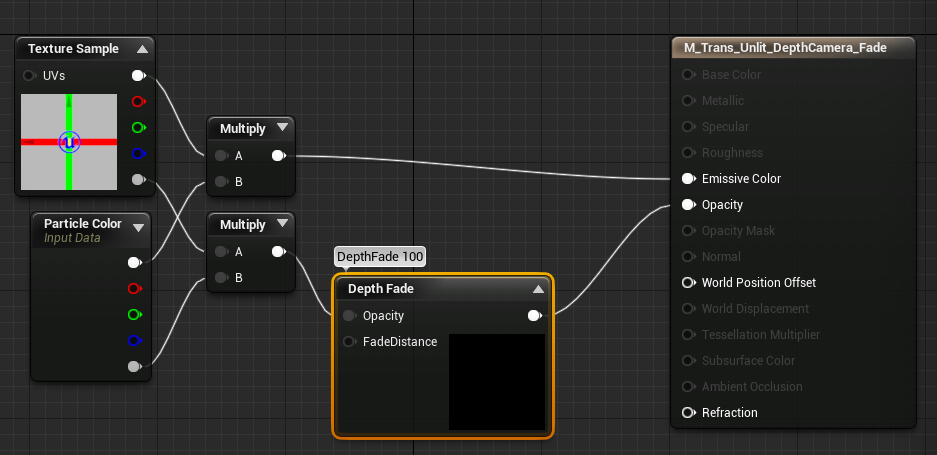
Now let’s plug the output of the Depth Fade into our Opacity input on the material and compile with the green apply check button.
You will not notice any visible changes in the viewport, because Depth Fade requires an intersection with an Opaque surface.
To see your Depth Fade result we first need to map the material to a sprite. Let’s go ahead and copy the previous lesson’s particle system and rename it whatever works best for you.
Click on your effect in the Content Browser and drag it into the Perspective view port.
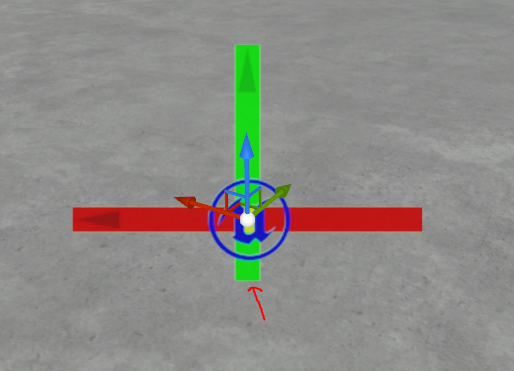
You will see, the material which is currently assigned to the sprites generates a hard edge where the sprite intersects the surface; this is most visible along the green Y Axis indicator in the texture.
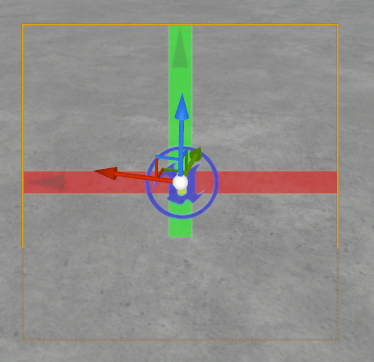
The yellow border is the selection highlight. This allows me to see the full scale of the sprite, even when I have alpha blending fading out portions of my sprite. This can be a great way to see how much screen space your effects are actually filling. I have selected the particle system to help illustrate how much of the particle is clipping the ground below the spawn position.
Let’s go ahead and replace the existing material with our new material which uses DepthFading to soften that transition.
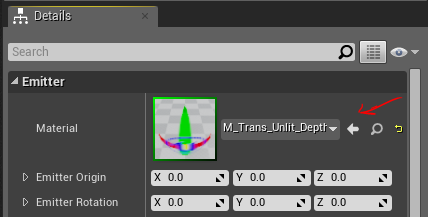
Select the required module, find your material in the Content Browser, and map the material to the material input on the required module with the arrow icon.
Note that your particle effect has updated in the Perspective viewport and no longer shows the hard intersection with the opaque ground.
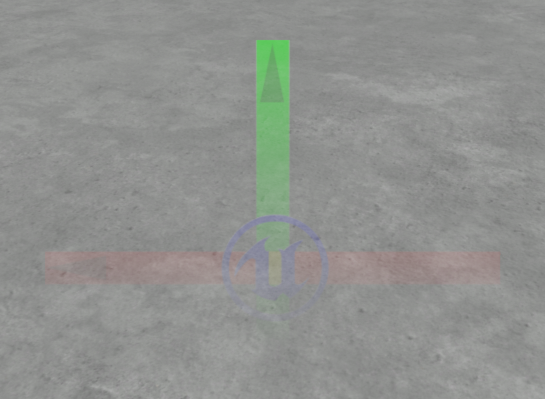
Note however, our sprite is very difficult to see at this point. This is because the FadeDistance on our material is set to a value of 100, and our particle size is 25, which is fairly small. It is important to note that DepthFade is calculated based on the view angle of your camera to the opaque surface. So if you orient your camera above a surface, you can see the relationship between the camera facing sprite and the DepthFade calculation.
In this case, the origin of the sprite is just above the surface, so the sprite is still visible. If the sprite’s origin and the surface were to align, the particle would become entirely invisible, regardless of the sprite size.
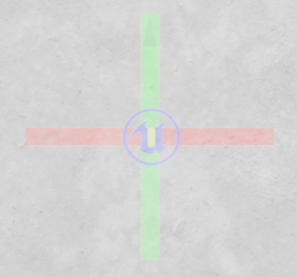
Let’s orient our view back to the side and try changing the DepthFade value in the material. Go back to your Material and try setting the Fade Distance value to 12, and recompile the material.
Notice now the Intersection is still smooth, but more of the sprite is visible.

That’s about all there is to setting up the most basic DepthFade on your sprites. Watch here for more tricks related to modifying the DepthFade with material parameters and dynamic updating of the DepthFade values through Cascade.
Don’t forget to head over to our forums for any questions or feedback you might have!