Subversion source control (Tutorial)
Overview
Hello Everyone! My name is Satheesh PV (aka RyanJon2040) and in this tutorial i will guide you to setup SVN (Subversion) in Unreal Engine 4. Subversion is a free/open source version control system (VCS). That is, Subversion manages files and directories, and the changes made to them, over time. This allows you to recover older versions of your data or examine the history of how your data changed.
SVN Server
Before you continue with this tutorial you need to host a SVN Server. I hosted mine at CloudForge . They offer Unlimited users and Unlimited workspace for FREE but storage is limited to 2GB per account. But anyway i have my repository there so if you dont yet have a SVN repository go ahead and create one.
Setting Up SVN
Now that you have a SVN repository lets start this tutorial. The very first thing you need to do is checkout a local copy of your UE4 Projects folder. (Without this, Unreal will complain that you need to checkout from a working copy). So to do this follow below steps:
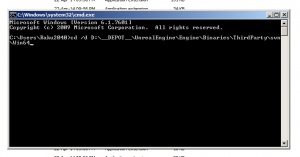
1. Open
CMD (Command Prompt)
2. Change to your
UE4 Installation Path\Engine\Binaries\ThirdParty\svn\Win64
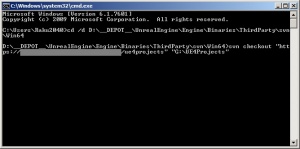
3. Once you are in that directory, you need to checkout your UE4 Projects directory to your working copy
4. After checking out, you should see three new directories called
branches
,
tags
and
trunk
in your projects folder.
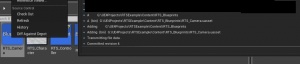
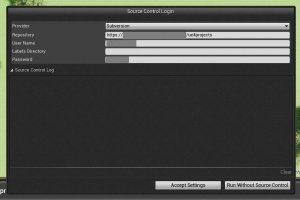
5. Now open your UE4 Project and open Source Control dialog. (Right click on any asset and select
Connect To Source Control
)
6. Now you should see the connection successful message.
If you reach upto this step successfully then Congrats! :) You have now successfully connected to SVN. Now lets begin the fun part...Checking in and out. :)
Check In
So lets begin to check in our assets to repository. Follow the steps below:
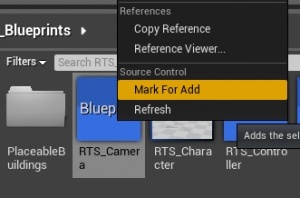
1: First you need to mark the asset for check in. To do that right click on your asset and select
Mark For Add
.
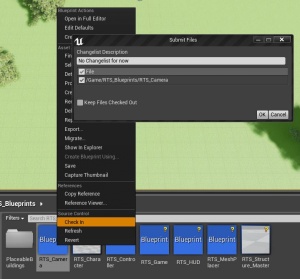
2: Then right click on that same asset and select
Check In
.
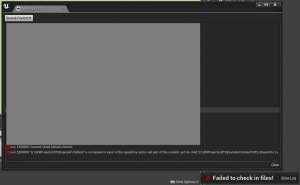
Check In Error
At this point you might probably face an error saying Failed to check in files .
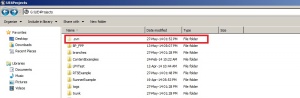
But dont worry! Its just a simple fix :). All you have to do is go to your UE4 Projects folder (Remember the one we checked out earlier using svn checkout command) and copy the
.svn
folder (Its a hidden folder) to your working project folder.
Finally
Thats it! Check In again and enjoy SVN!