Creating Layered Materials (Tutorial)
Contents
Overview
In this brief tutorial we will overview the process of creating a simple Layered Material with two Material Layers: chrome and snow. Our final Layered Material will automatically place snow on the top surfaces of the object, effectively switching between the two materials. The blend between the materials will always check for the top surface, meaning that even as you rotate the objects, the snow will remain on top.
Generally, when creating Material Layers, it is common to create the layers as Materials and copy/paste your node network into a new Function. To save time, however, we're going to build our layers within Functions to begin with.
Simple Chrome
Chrome Textures
-
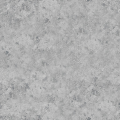
T_ExampleLayers_Metal_1_BC.png
-

T_ExampleLayers_Metal01_N.png
For our first Material Layer, we will create a fairly simply chrome with a little bit of corrosion or imperfections in the surface. To help show some editability, we will also create some inputs to control the overall look.
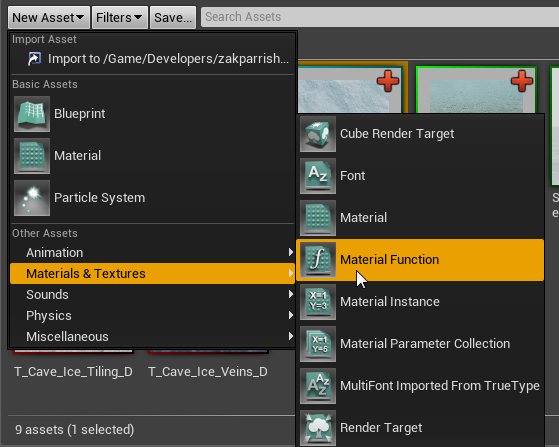
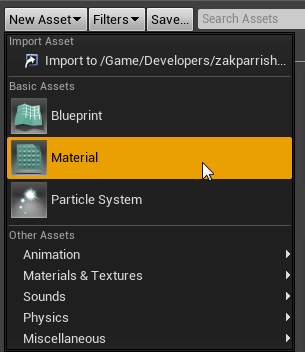
1. In the Content Browser, click the New Asset button and choose Materials & Textures > Material Function .
2. Name your new Function Layer_Chrome .

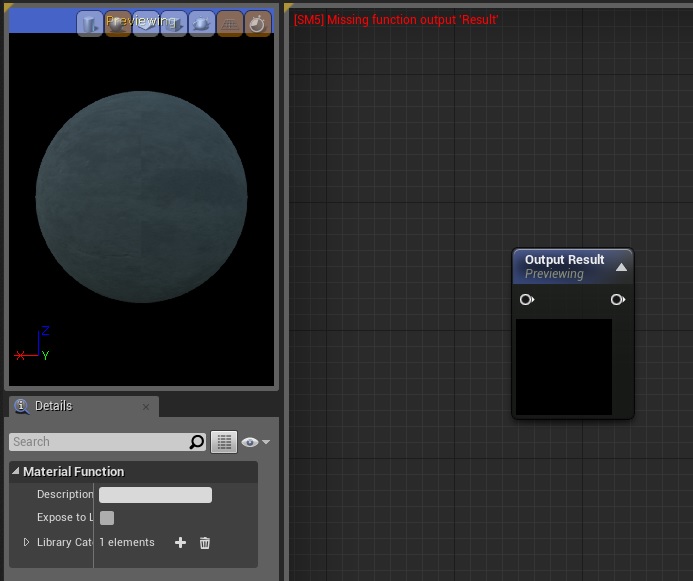
3. Double-click your Function to open it within the Material Editor.
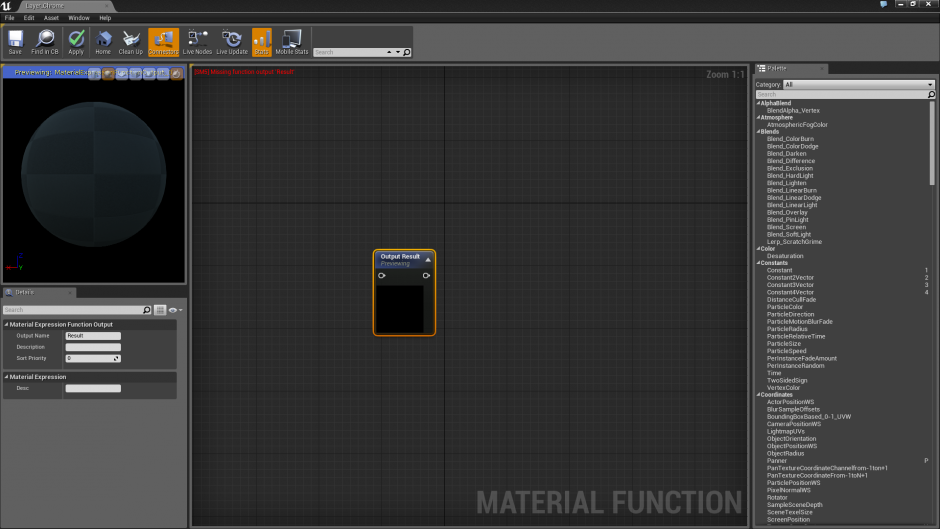
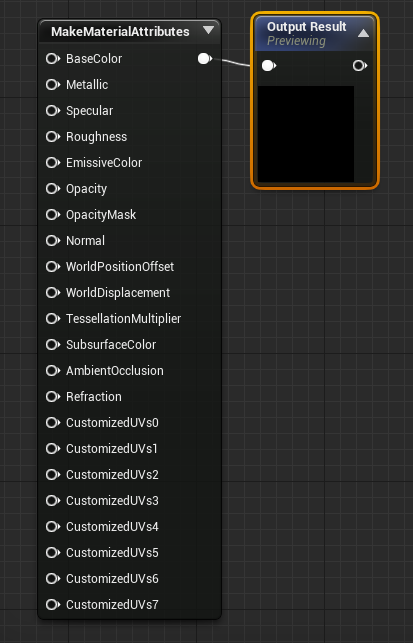
4. 4.Right-click and choose Material Attributes > Make Material Attributes .
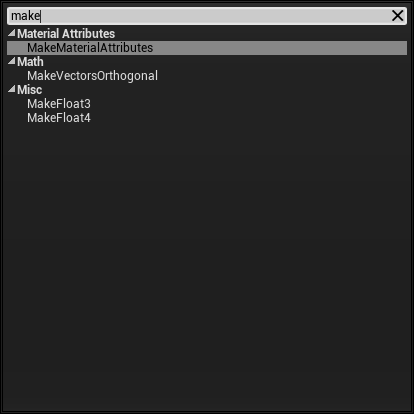
5.Connect your new Make Material Attributes node to the Output Result.

Chrome Layer Network
The network for this Material Layer is pretty straightforward. It has been broken down for fast construction. The two textures used are T_ExampleLayers_Metal_1_BC.png for the Base Color and Roughness, and T_ExampleLayers_Metal01_N.png for the normal map, both downloadable at the top of this page.
Click for full size or right-click and Save As

The Material Layer is broken down into comment blocks, which are explained below:
1. Base Color - This portion of the network is very simple. We've set up a Linear Interpolate that blends between our base chrome color and a very dark gray. The base color is actually a Function Input named Tint . This input is set to a Vector3, allowing us to input color into the function and change the color of the chrome. We use the red channel of the T_ExampleLayers_Metal_1_BC texture to drive an interpolation between the two.
2. Metallic - Since we're creating a metal, we set Metallic to 1.
3. Roughness - We are creating chrome, so roughness will be generally pretty low. However, in the darker areas we're going to boost roughness a little, just to give some depth to the overall look of the material. In effect, this is the same network as the one we used for Base Color, except that we're simply Lerping between 0.2 and 0.4.
4. Customizable Normal - This network simply takes in a tangent space normal map and separates the green and red channels, which control the bulk of the map's detail. We multiply each channel by a value supplied from another Function Input. This input is set to a Scalar type and named Normal Multiplier , with a default of 1.0. The results are appended (AppendVector node) together and then appended to the blue channel of the normal map. The result is that the user has the power to adjust the height of the normal by changing the Normal Multiplier value.
Be sure to save your Material Layer Function when done.
Simple Snow
-
T Cave Ice Tiling Diffuse
-
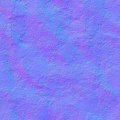
T Cave Ice Noise Normal
We will now create the Material Layer for our snow effect:
1. In the Content Browser, click the New Asset button and choose Materials & Textures > Material Function.

2.Name your new Function Layer_Snow.
3. Double-click your Function to open it within the Material Editor.
4. Right-click and choose Material Attributes > Make Material Attributes.

5. Connect your new Make Material Attributes node to the Output Result.
Snow Layer Network
Below is a simple breakdown of the snow Material Layer. This Layer uses the T_Cave_Ice_Tiling_D.png and T_Cave_Ice_Noise_N.png , both are downloadable on this page.
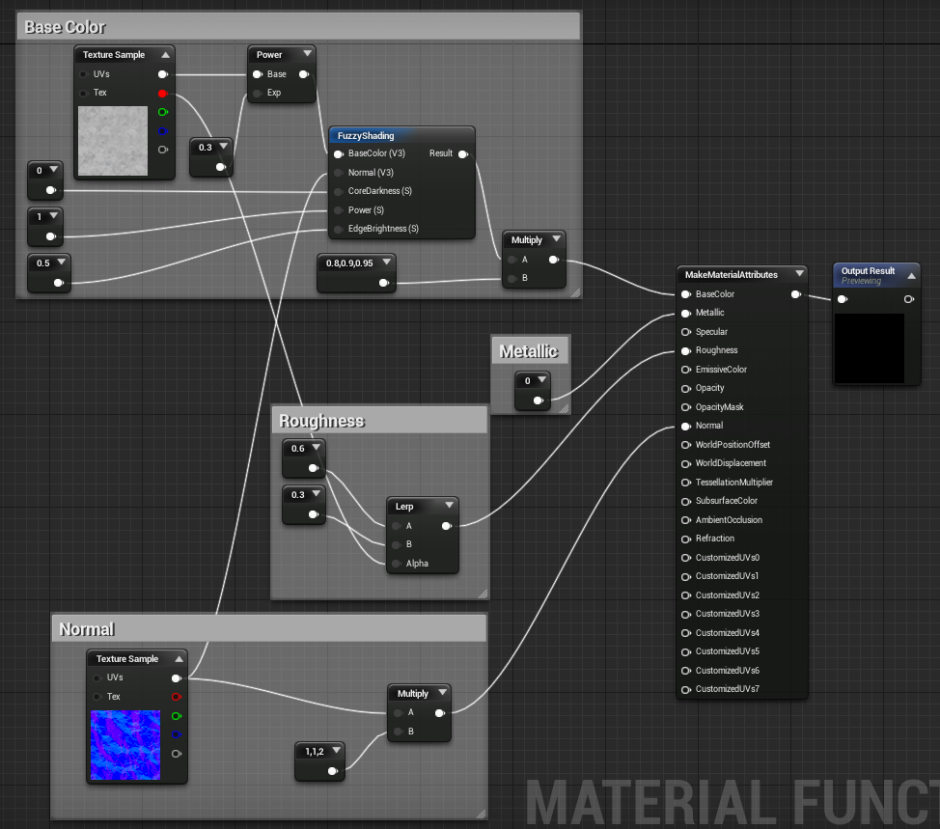
1. Base Color - This is probably the only relatively sophisticated part of the network, and only because it uses the FuzzyShading Material Function. This function simply keeps the texture from getting too dark when the Material is receiving light. It's a bit like how light passes through fibrous surfaces. This makes it perfect for velvet, moss, or in this case, snow. So we start by taking our Base Color texture (T_Cave_Ice_Tiling_D.png) and removing some contrast by raising it to the power of 0.3.
Next, we plug the result into a FuzzyShading Material Function, pulled from the Functions tab of the Material Editor. We set Core Darkness to 0, Power to 1, and EdgeBrightness to 0.5. Finally, we multiply the whole thing by a very pale blue color (R=0.8, G=0.9, B=0.95) to give it that cold, icy color cast.
2. Metallic - This is a non-metallic surface, so we set Metallic to 0.
3. Roughness - We want our snow to shine a little bit when the light hits it just right, so we use the red channel of the T_Cave_Ice_Tiling_D.png texture to drive a Lerp between 0.6 and 0.3.
4. Normal - This is also fairly basic. We want to lower the effect of the tangent space normal map, which is done by doubling the strength of the blue channel. The increase of blue lowers the overall look of the normal map's height.
Save your result when finished!
Layered Material
We can now create our Layered Material using the layers we've generated so far. We will set this up with a little bit of room for instance customization and so that the snow always appears on the top of the surface.
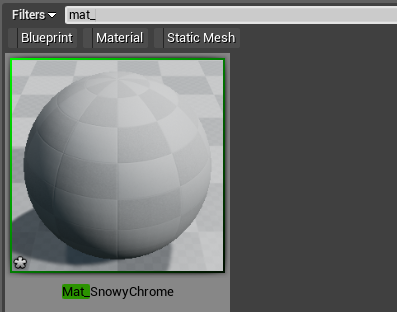
1. In the Content Browser, click the New Asset button and choose Material from the context menu.
2. Name your new Material Mat_SnowyChrome .
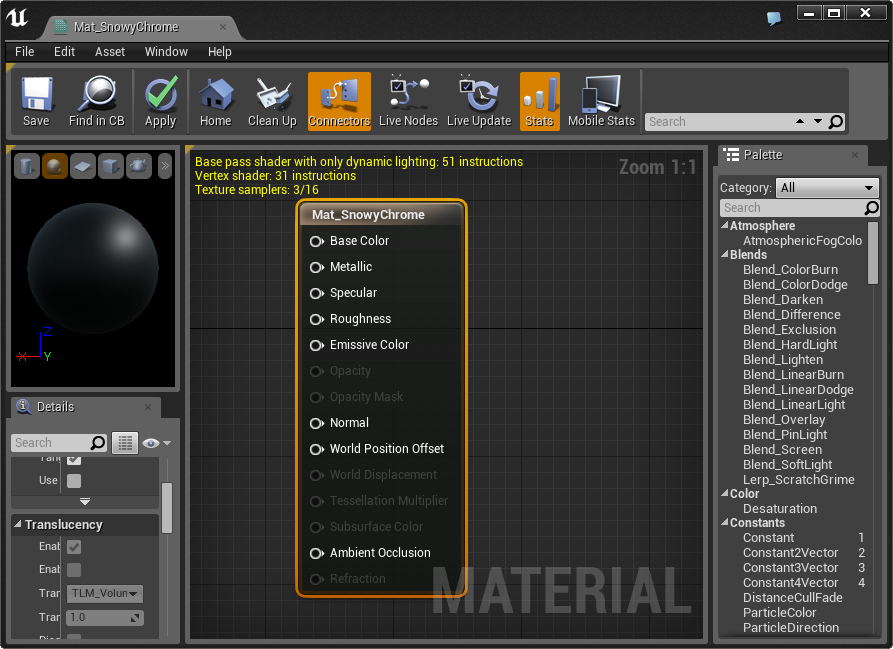
3. Double-click your Material to open it within the Material Editor.
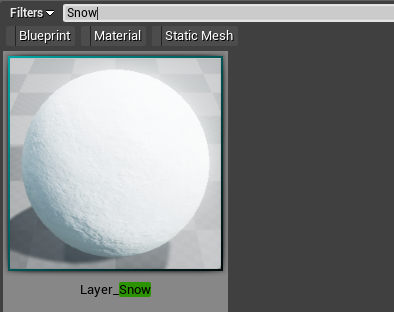
4. From the Content Browser, drag and drop in your Layer_Chrome and Layer_Snow Material Layers created in the steps above.
5. From the MaterialLayerBlend panel, drag in a MatLayerBlend_Simple Function, as well as a World_Aligned_Blend Function. We will use the MatLayerBlend_Simple to handle the transition from chrome to snow, and the World_Aligned_Blend to power the Layer Blend based on the direction the surface is pointed.
6. Click on the main Material Attributes, and in detail properties, under Materials, check Use Material Attributes.
Layered Material Network
Below is a breakdown of the Mat_SnowyChrome network, along with descriptions for each of the commented areas.
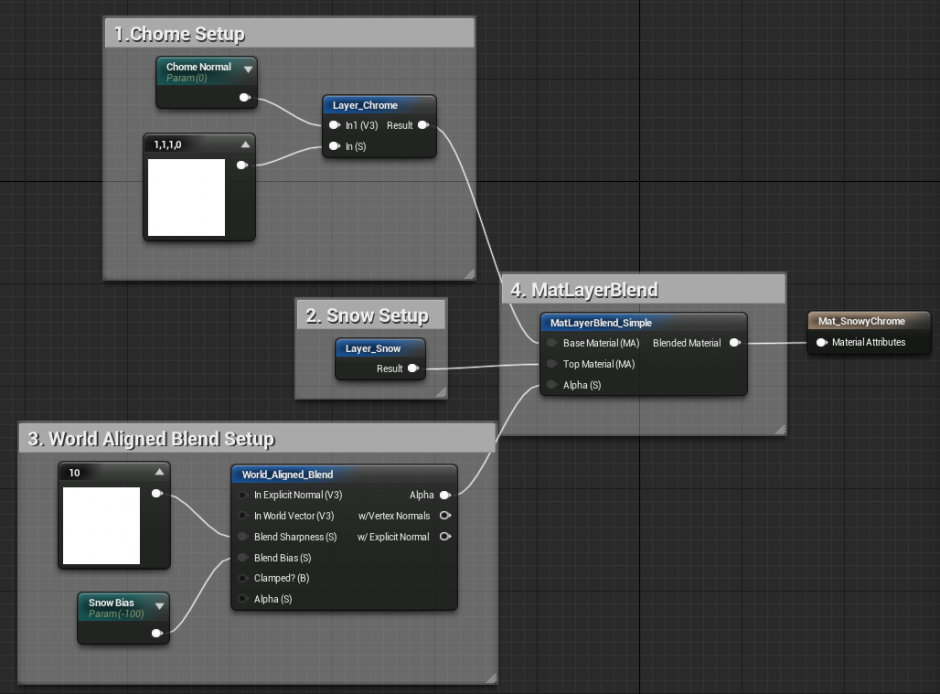
1. Chrome Setup - Here we have brought in the Chrome Material Layer and connected 2 Material Parameters to it. The first is a Scalar Parameter named Chrome Normal that is driving the Normal Multiplier input. The second is a Vector Parameter named Chrome Tint that is driving the Tint input. These will allow us to alter the strength of the normal map, as well as the chrome color when we instance later.
2. Snow Setup - Can't get much simpler than this: we just have our snow Material Layer.
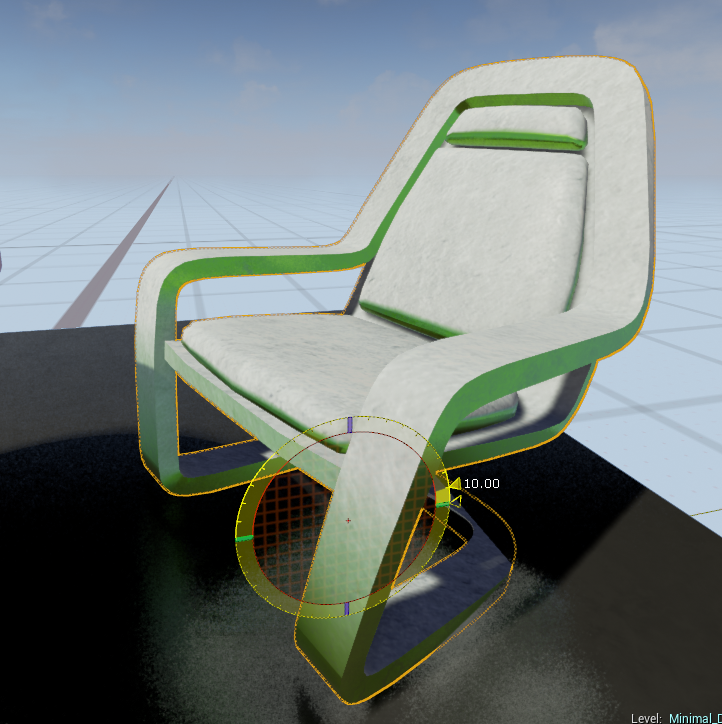
3. World Aligned Blend Setup - In this portion of the network we start off by setting the Blend Sharpness to 10. We then connect a Scalar Parameter named Snow Bias to the Blend Bias input. This will allow the snow coverage to be edited when the Material is instanced.
4. MatLayerBlend - This simply contains the node used to drive the blend. Our Base Material is Chrome. Our Top Material is Snow. The World_Aligned_Blend handles the transition.
Save your Material when done!
Instancing a Layered Material
Since we have already set up our Material with parameters, which in turn drive aspects of our Material Layers, we are ready to instance it and make edits. This process is very easy in UE4.
1. Make a new level by clicking File > New Level from the main menubar. Choose the Default template.
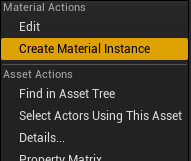
2. Right-click on the Mat_SnowyChrome Material and choose Create Material Instance . The default name should be fine.
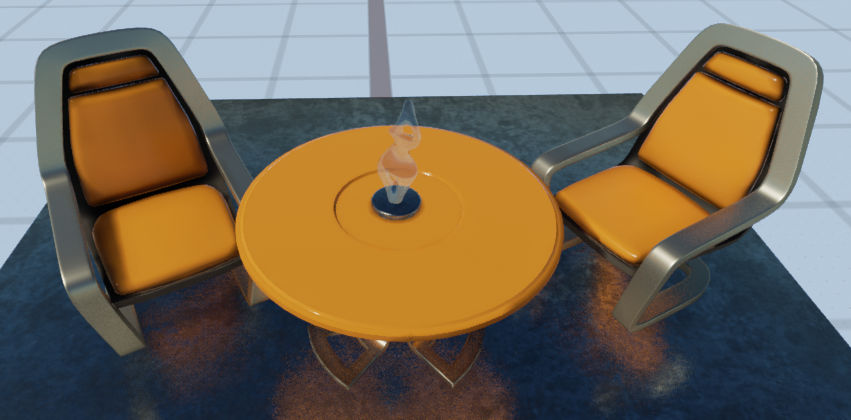
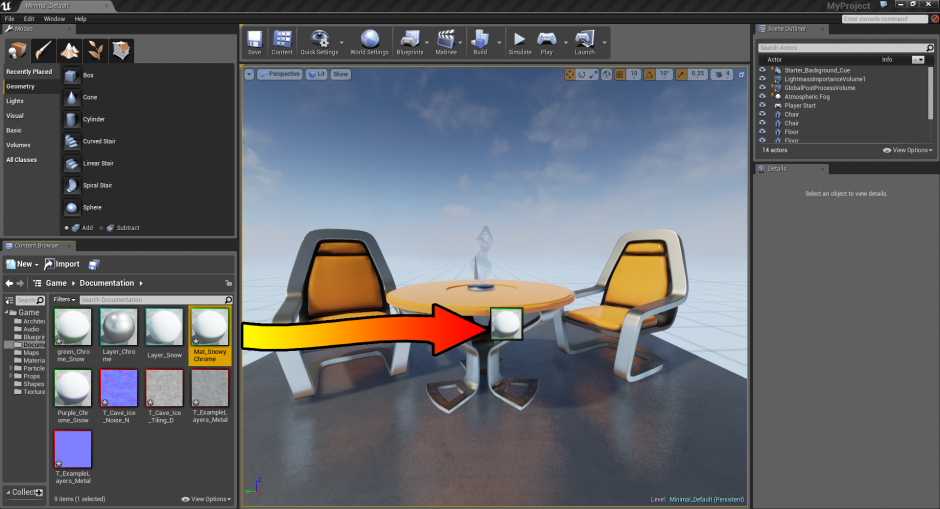
3. Drag and drop the new instance from the Content Browser onto one of the objects in the scene.
4. Double-click the instance and make any changes you like to its properties. You can change the color of the chrome, the depth of the chrome's normal map, and how much snow has fallen on top of it.
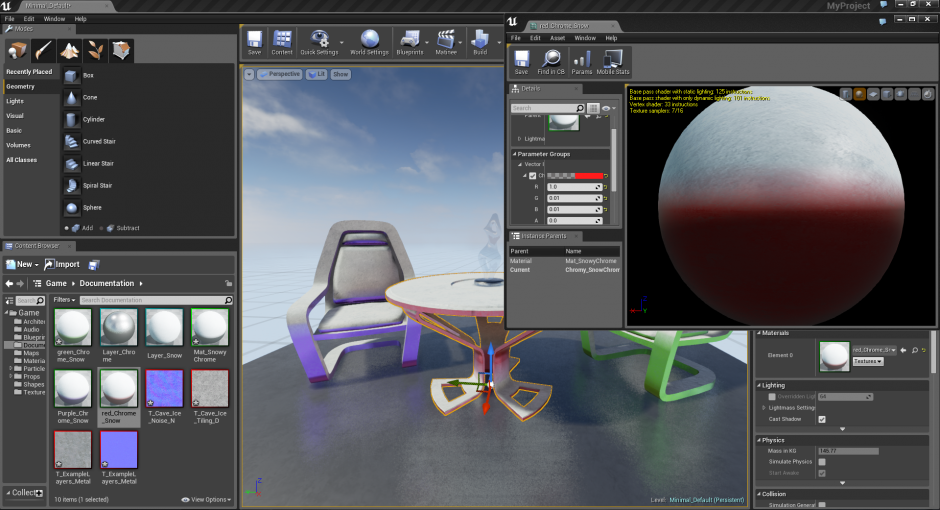
Notice as you rotate the object that the snow stays on the topmost surfaces.