Blueprint Lift Tutorial
Overview
Lifts and moving platforms can be an integral part of moving your character through a level, and by combining Matinee and Blueprints, it is simple to construct them. Like the Spotlight Off Switch and Spotlight Toggle Switch Level Blueprint examples, this example begins with the template Blueprint Third Person . This template contains a camera, a character, and some basic gameplay setup, all in Blueprint format. You can open the existing Blueprints in the game to see how those work.
Setting up the Level
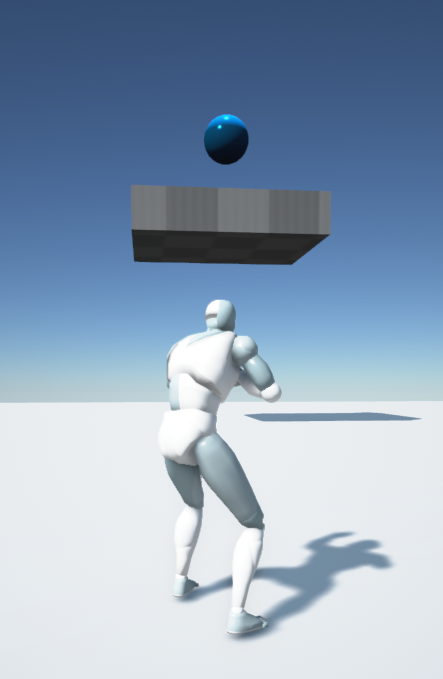
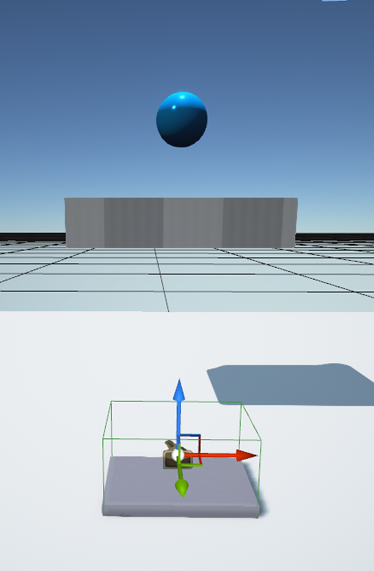
Just to provide a visible objective for the character to reach, a StaticMesh platform has been added above the character's head, with an additional StaticMesh sphere to represent some object the character wants to pick up. Class Blueprints would be ideal for adding in-game functionality to objects like this sphere. The platform and sphere do not need to be present for this example to work - they just help to provide context for the lift platform's placement.
We are beginning with the Level Blueprint for this game. Anything currently in a level can be referenced by a Level Blueprint. Therefore, our first step is to put some objects into our level.
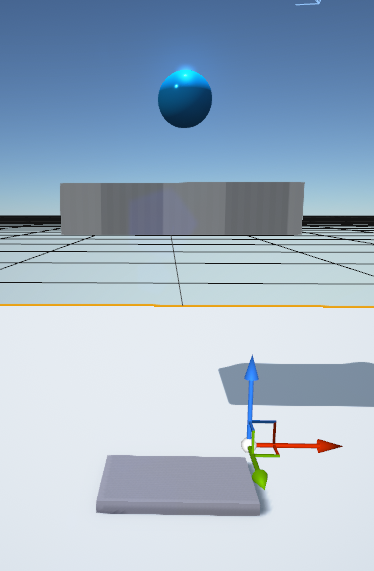
- 1. From either the Content Browser or the Tools pane, select the StaticMesh Shape_Cube . Drag this StaticMesh into the level, and place it on the ground somewhere next to the platform your character needs to reach. You can resize the platform to make it a good size to stand on.
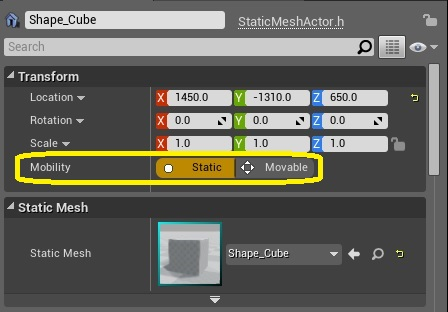
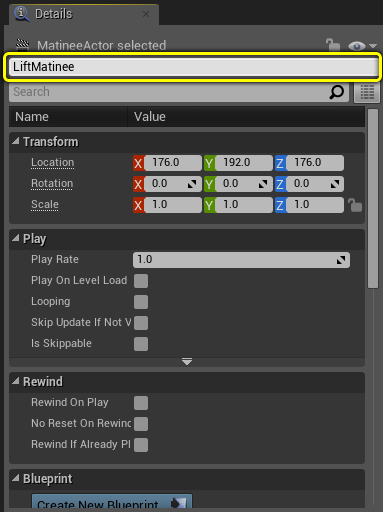
- 2. In the Details pane for your StaticMesh , rename it to "LiftPlatform" .
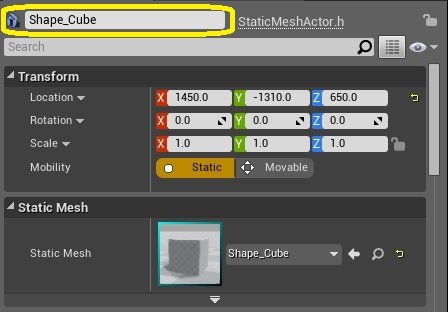
- 3. Also in the Details pane, change the Mobility of the StaticMesh to Moveable . This will allow your MatineeActor to move the platform.
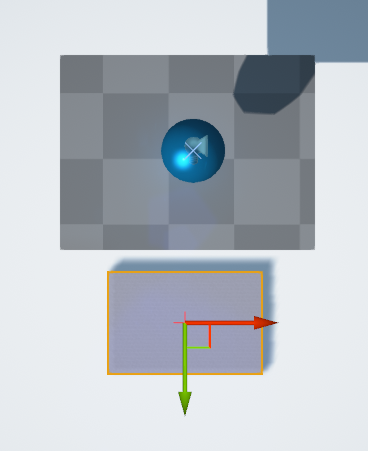
- 4. Right-click in the level, and then select Add Actor > Trigger > Trigger (Box) to place a Trigger (Box) in your level. Align it over your LiftPlatform , and resize it so that it is the same size as the platform in the X and Y directions.
An Actor is an object that can be placed or spawned in the level. Lights, TriggerVolumes, StaticMeshes, and Cameras are all examples of Actors.
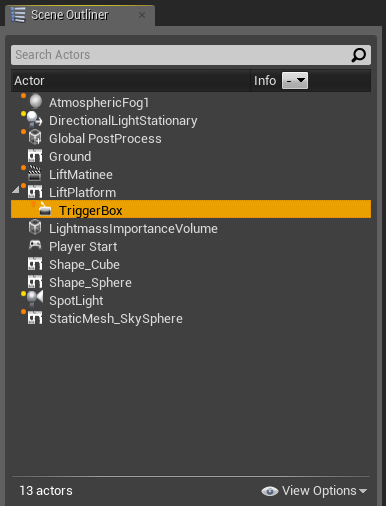
- 5. In the Scene Outliner pane, drag and drop the TriggerBox entry onto the LiftPlatform entry, so that it becomes nested below it. This will attach the TriggerBox to the LiftPlatform , so that when the Level Blueprint moves the LiftPlatform , the TriggerBox will move as well.
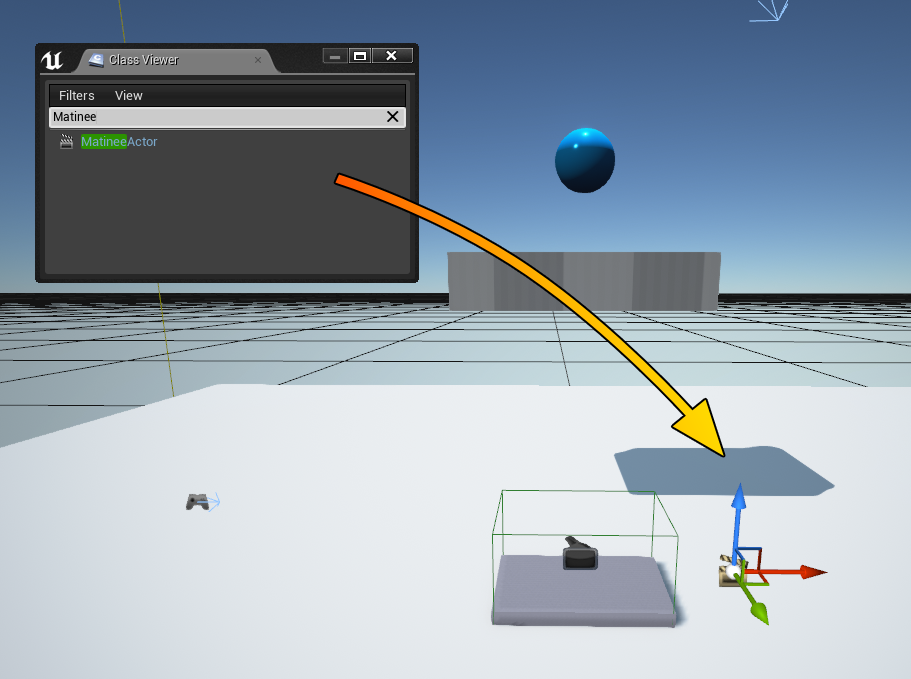
- 6. Using the Window menu in the Level Editor , open the Class Viewer .
- 7. Type Matinee into the Class Viewer .

- 8. Drag and drop a MatineeActor into the level.
- 9. In the Details pane for your new MatineeActor , rename it to "LiftMatinee" .
Matinee
You are going to use this MatineeActor to move the lift platform to its final position.
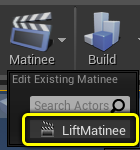
- 1. Click on the Matinee button in the Level Editor Toolbar and select LiftMatinee in the menu that appears.
- 2. Click Continue on the Matinee Undo Warning that appears.

The
Matinee Editor
window will open.
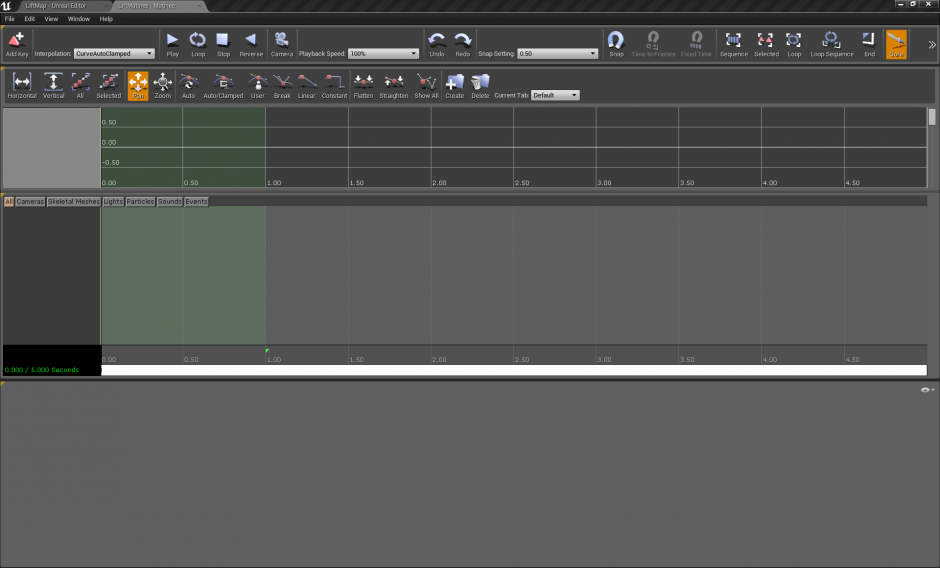
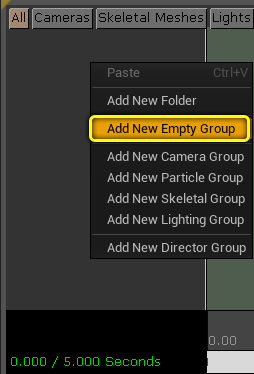
- 3. Right-click in the Group/Track List of the Timeline Pane .
- 4. Select Add New Empty Group in the right-click menu.
- 5. Type LiftGroup in the New Group Name dialog.

- 6. Switch to the Level Editor , and select your LiftPlatform .
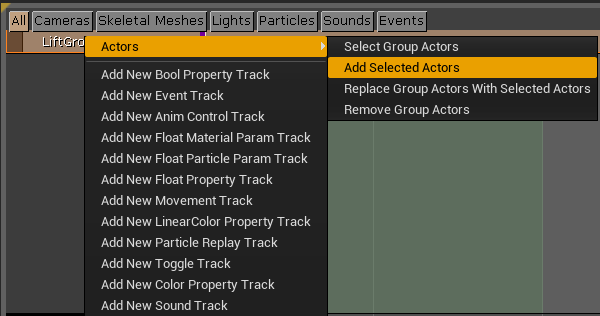
- 7. Return to the Matinee Editor . Right-click on LiftGroup , then select Actors > Add Selected Actors in the right-click menu.
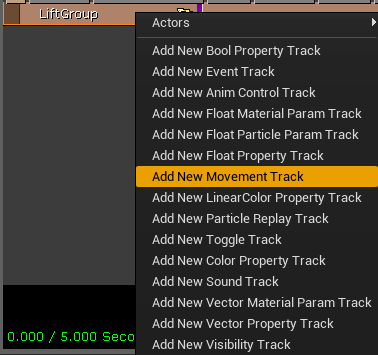
- 8. Right-click on LiftGroup and select Add New Movement Track . A Movement track will appear below your LiftGroup group.
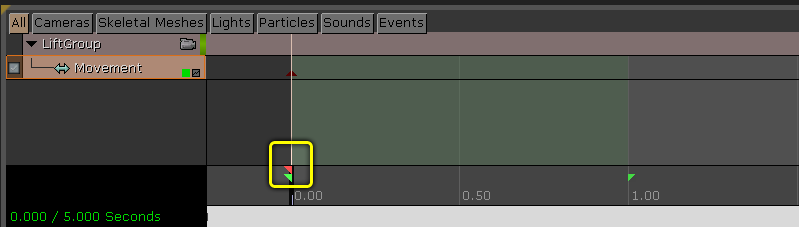
- 9. Click on the Timeline and drag left to move the timeline to the left of the green timeline block.
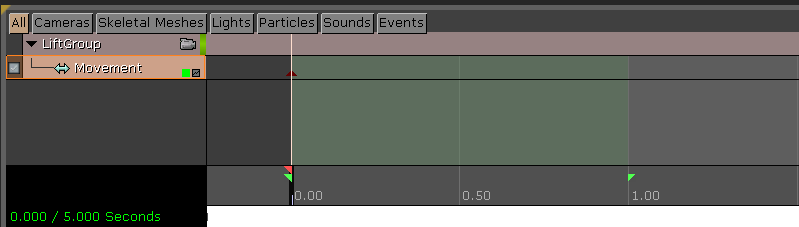
There is already a red triangle to indicate the first keyframe. Your platform is already in its starting location, so you do not have to edit this first keyframe.
- 10. Click on the vertical black bar below your first keyframe and drag it to the right, to a time of approximately 1.
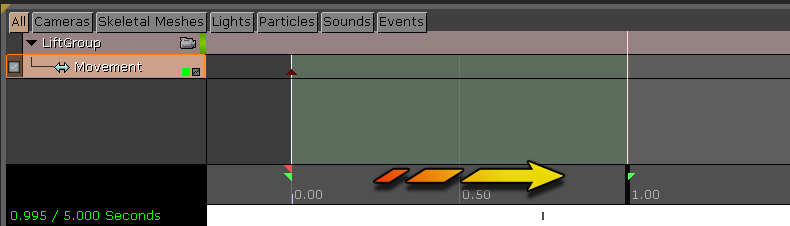
- 11. Press Enter to create your ending keyframe.
- 12. Switch to the Level Editor.
- 13. Translate your platform vertically to its final position. A yellow line will appear showing the path the platform will follow.
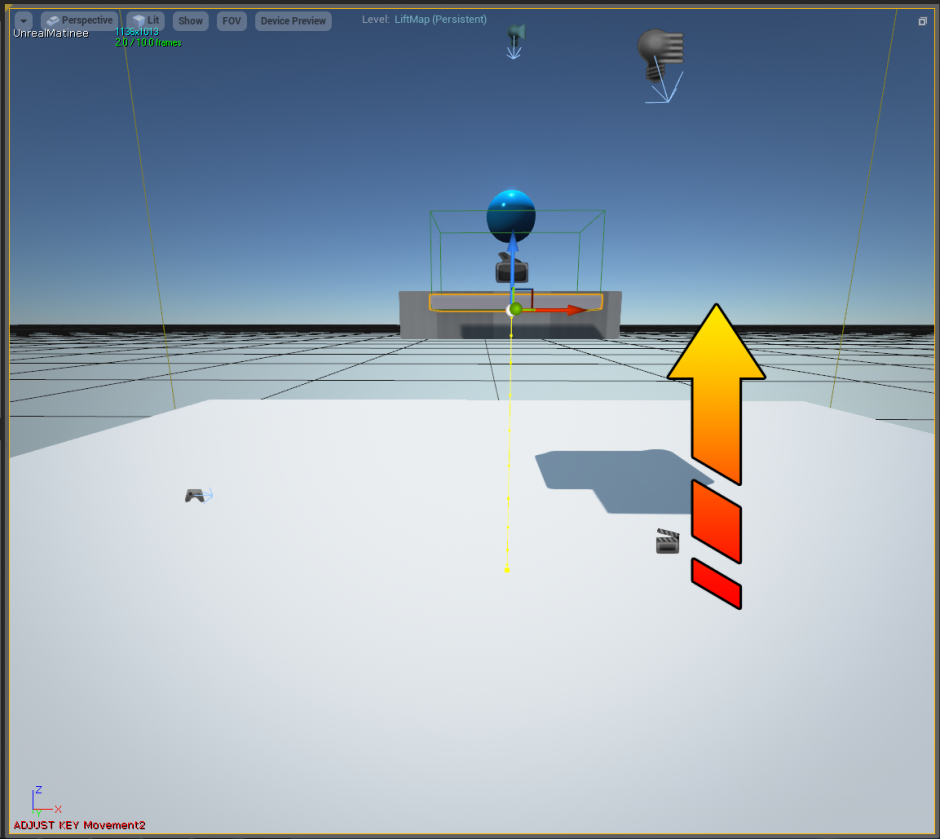
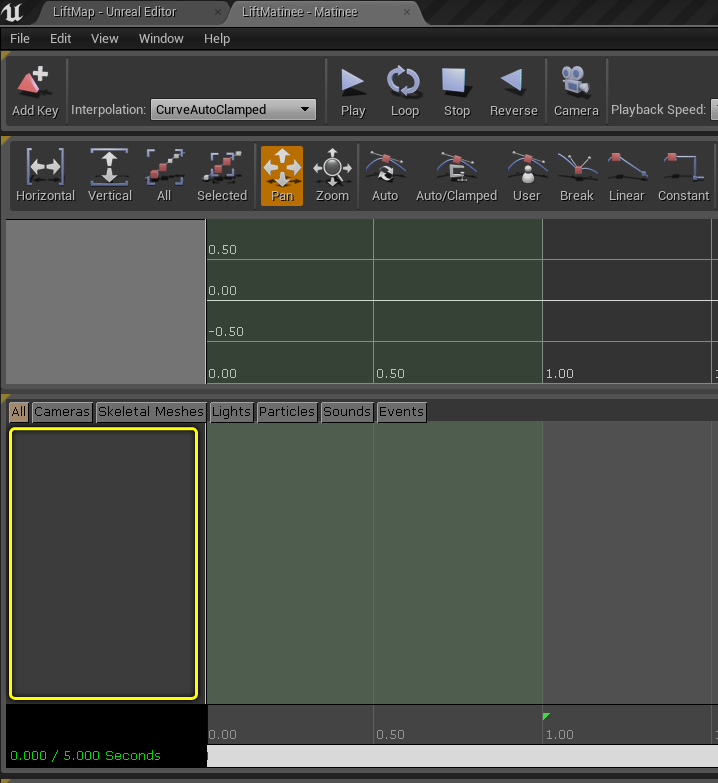
If you disconnect the Matinee Editor tab, and arrange the tabs so that you can see both the Level Editor and the Matinee Window, you can preview the motion of your platform.

- • Hit Stop twice to move playback to the start of your Matinee.
- • Use the Play and Reverse controls to play back and reverse your Matinee.
Blueprint
At this point, you have completed your Matinee and can close the Matinee Editor. You are now ready to begin assembling your Blueprint.
- 1. Select your TriggerBox in the Level Editor.
- 2. Click on Level Blueprint in the Level Editor Toolbar.
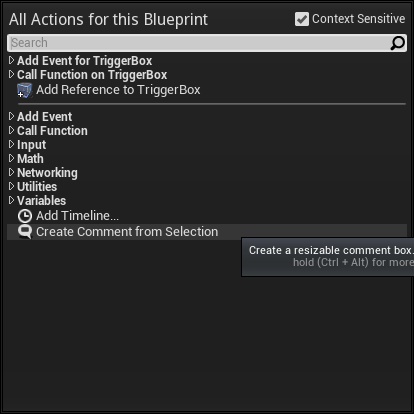
- 3. Right-click in the graph pane. A context menu will pop up, with a search bar to help refine your options.
We want something to happen when our character overlaps the Trigger Volume. An overlap is defined as an Actor crossing into the volume of the Trigger.
- 4. In the search bar, type Overlap .
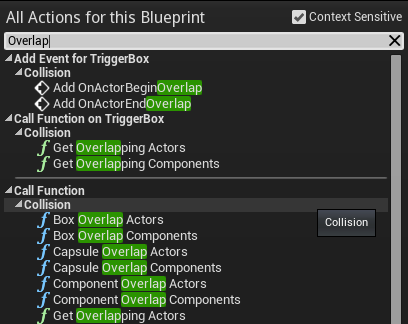
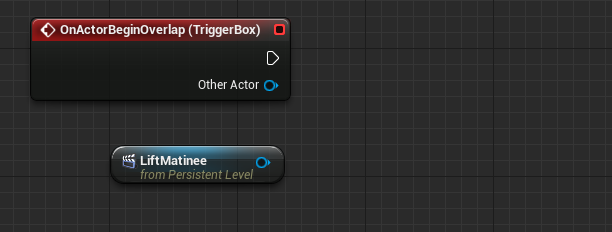
- 5. Select Set OnActorBeginOverlap .

Note here that the
Node
that pops up has a red title bar. This identifies it as a Event
Node
.
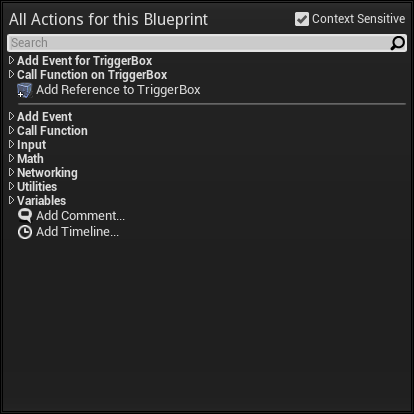
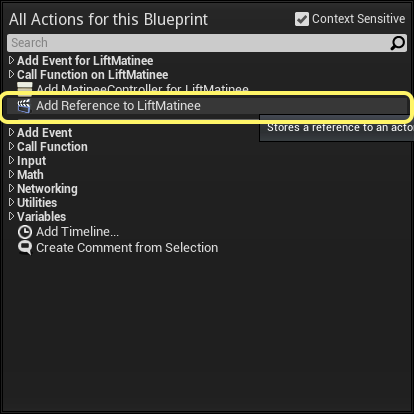
- 6. Select your MatineeActor in the Level Editor.
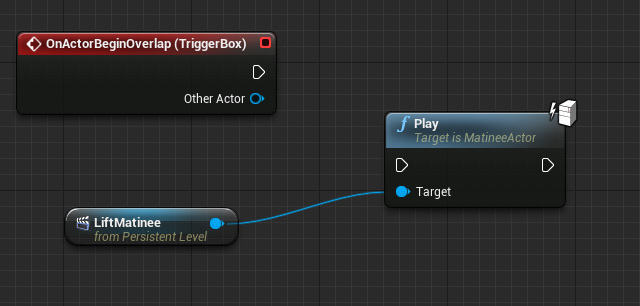
- 7. Return to the Level Blueprint , right-click on the Graph, and select Add Reference to LiftMatinee .
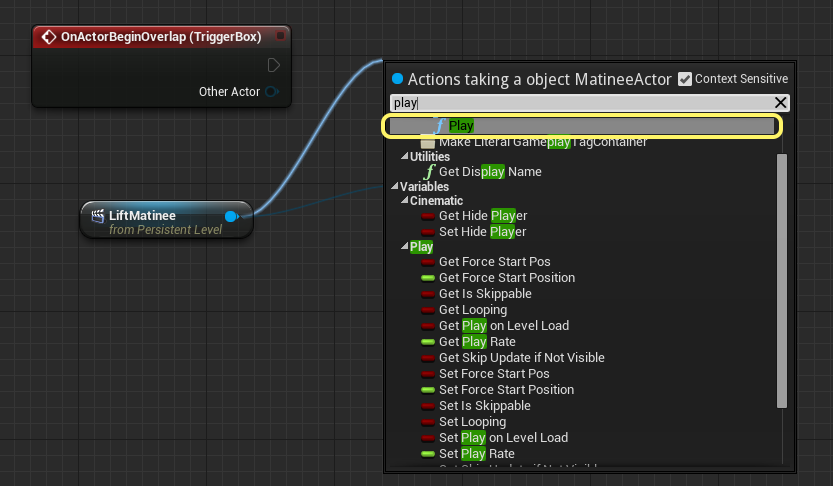
- 8. Drag and drop off of the blue output pin on the LiftMatinee reference, and then type Play in the context menu.

- 9. Select Play under Call Function > Matinee .
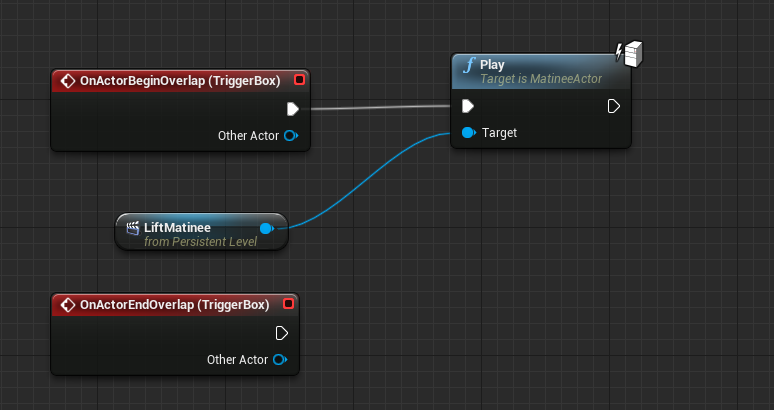
- 10. Connect the output execution pin of the OnActorBeginOverlap Node to the input execution pin of the Play node.
You have created a lift that will go up when you stand on it and overlap the
TriggerVolume
. For a fully functional, reusable lift, you can set the MatineeActor to reverse whenever you leave the TriggerVolume.
- 1. Select your TriggerBox in the Level Editor.
- 2. Click on Level Blueprint in the Level Editor Toolbar.
- 3. Right-click in the graph pane. A context menu will pop up, with a search bar to help refine your options.

We now want something to happen when our character leaves the Trigger Volume. This is also known as the overlap ending.
- 4. In the search bar, type Overlap .

- 5. Select Set OnActorEndOverlap .
- 6. Now, drag and drop again off of the blue output pin on the LiftMatinee reference. Type Reverse in the context menu.

- 7. Select Reverse under Call Function > Matinee.
While the output execution pin of a Node cannot be connected to the input execution pin of two different Nodes, Variables and Actor references can be connected to as many Nodes as needed. You may still want duplicate Variable or Actor reference nodes for clarity in large graphs, but there is not a linear execution system enforced for Variable and Actor references.
- 8. Connect the output execution pin of the OnActorEndOverlap Node to the input execution pin of the Reverse node .
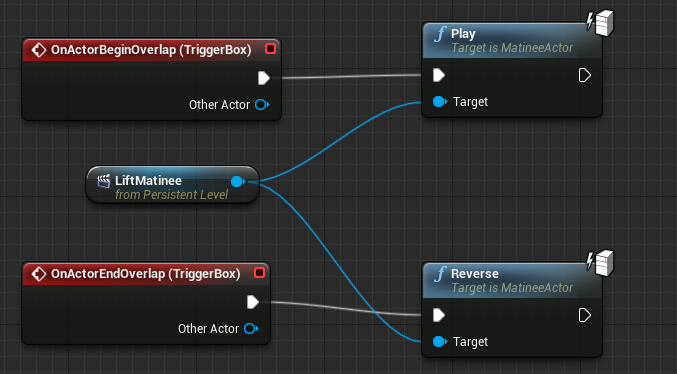
At this point, the Blueprint will work. If you
Compile
the
Level Blueprint
and then play the game in the Level Editor, running onto the platform will cause the platform to move upwards to its final location, and leaving the platform will make it reverse to its starting position.
Commenting
You can also comment your Blueprint graph so that going forward, it will be easy to know what each part of your graph does, and to keep your Blueprints organized.
- 1. Click and drag to select the five nodes you have added to the Level Blueprint .
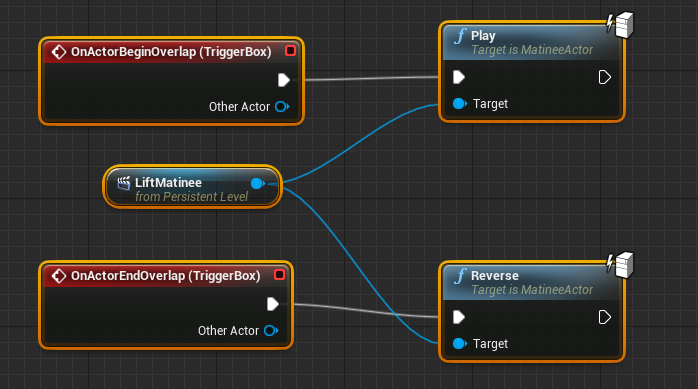
- 2. Right-click in the graph pane and select Create Comment from Selection .
- 3. Type Lift Mechanism in the comment box that appears.
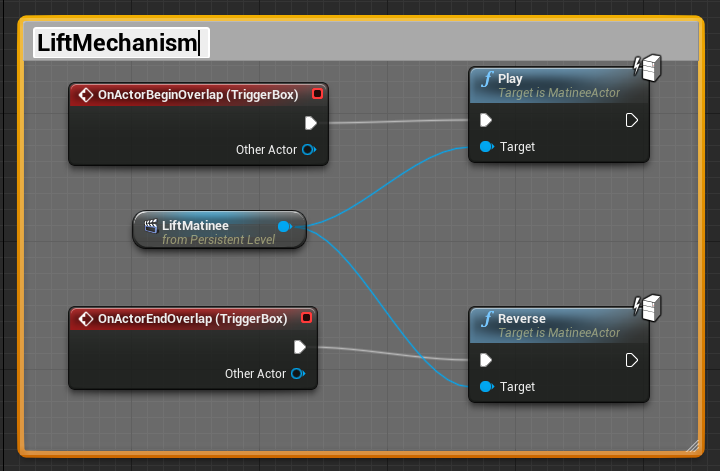
You have now successfully commented your Blueprint nodes.
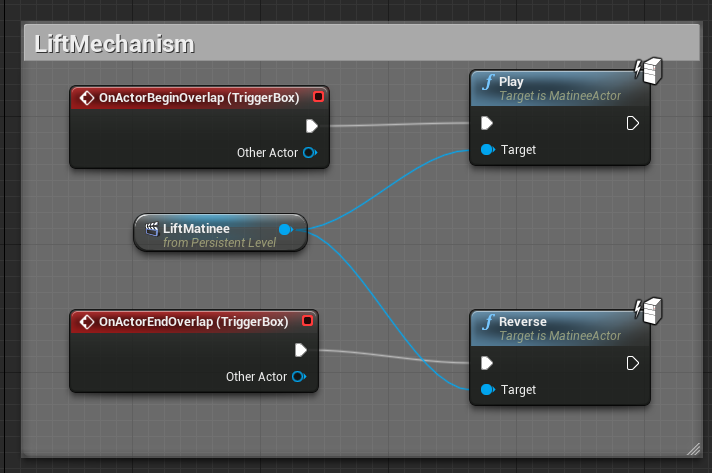
By clicking on the comment box and dragging, you can drag all related nodes around in the
Graph
tab. The comment box title also scales as you zoom, so that even at a distance, you can locate your Lift Mechanism if you need to edit it.